

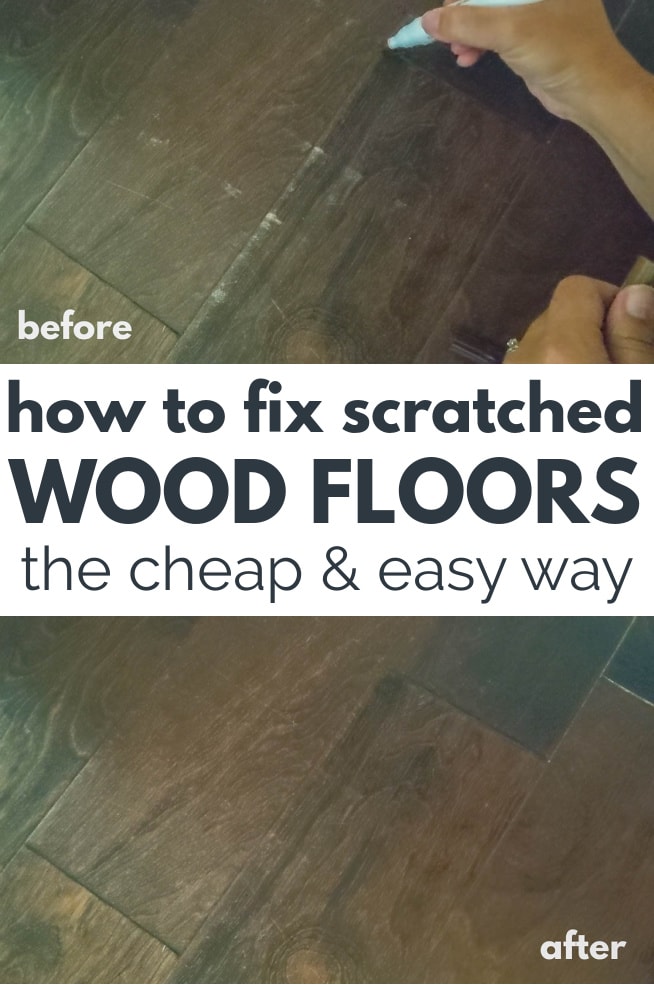
How To Repair Scratches On Hardwood Floor
After testing a few pop methods, I'g sharing the best fashion to fix scratches and gouges in your hardwood floors (including engineered hardwoods). This method is super fast and easy and it gives gorgeous results.
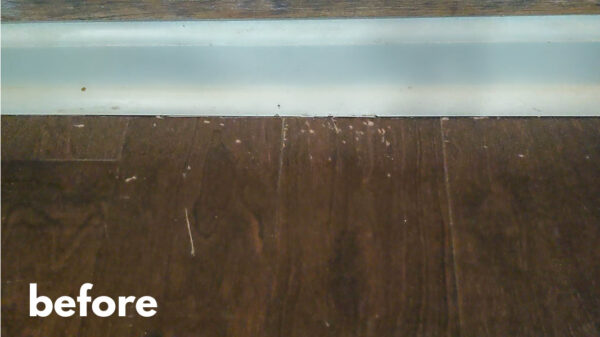
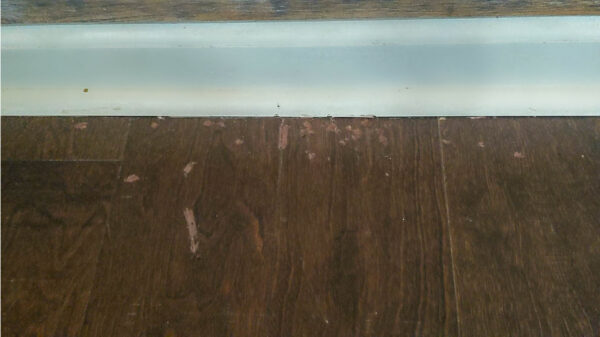
We accept cute dark engineered hardwood floors that I installed around 5 years ago. I still admittedly love them, simply over the years they have gathered quite a few scratches, gouges, and pocket-size holes that don't look and then great.
I have iii little boys who are incredibly active and they are pretty hard on our firm, including our floors. And so it is definitely fourth dimension to practise something almost all of the scratches our floors have accumulated.
My floors are engineered hardwood floors. Some of the methods you might use to set scratches in real hardwood floors don't piece of work and so well for engineered floors. Yet, the method I'one thousand using to ready my scratched engineered hardwoods will as well work just fine on solid hardwood floors.
This post contains affiliate links which means if you brand a purchase after clicking a link I will earn a small commission simply information technology won't cost you a penny more than. Click here to come across my total disclosure policy.
Three means to set up scratches in hardwood floors
I always outset every project I practise in our dwelling house with some inquiry. I did a bit of research into the best and most popular ways to fix scratches in hardwood floors and chose a few methods that seemed promising to examination out for myself.
Touch-up stain
I actually tried this method a couple of years ago since information technology seemed like the easiest method and I already had all the materials on paw.
I simply used a q-tip dipped in wood stain that closely matched the color of my floors and rubbed information technology on the worst scratches. So I used a make clean cloth to wipe off any excess.
It was piece of cake plenty to do and immediately improved the advent of the floor. Y'all could still come across the scratches if yous looked closely, just they were way less noticeable.
Unfortunately, it has at present been a couple of years and I tin easily run into the spots where I did this. I didn't seal the stain, and so the sheen of these spots is more matte than the surrounding floor. And because it wasn't sealed, information technology has as well faded over time.
Wood Filler Kit
Later doing some more searching, I institute some small wood filler kits that are popular for fixing scratches in forest floors and furniture.
These kits contain tubes of a resin wood filler in multiple colors to friction match a variety woods tones. I bought one of these kits with decent reviews to try for myself.
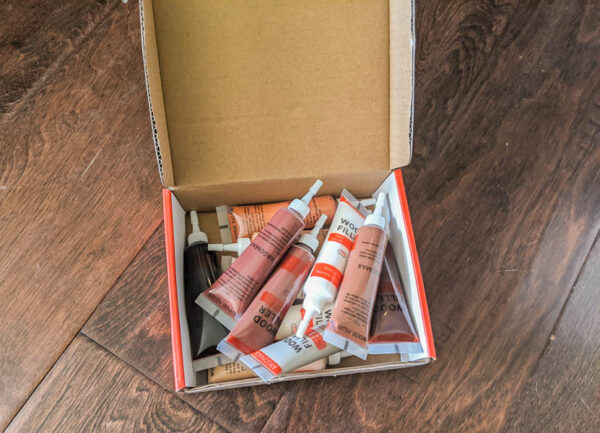
In theory I thought I would actually like this solution because it is a very simple one-step process. But in reality it didn't work so well.
The fillers come up in small tubes that brand it really easy to apply.
That is, they are piece of cake to employ unless you lot need to mix a custom color to lucifer your floors which you volition nigh always have to do. In that case you need to mix the two colors together before applying them to the scratch which is a bit more hard.
I also didn't dear the consistency of this product. The resin wood filler had a consistency that was more than similar to paint than a traditional wood filler so it wasn't actually thick enough to easily fill deeper scratches and holes. '
While this kit may piece of work great for fixing scratches in furniture, but it wasn't quite enough for fixing wood floors.
Wood Repair Markers
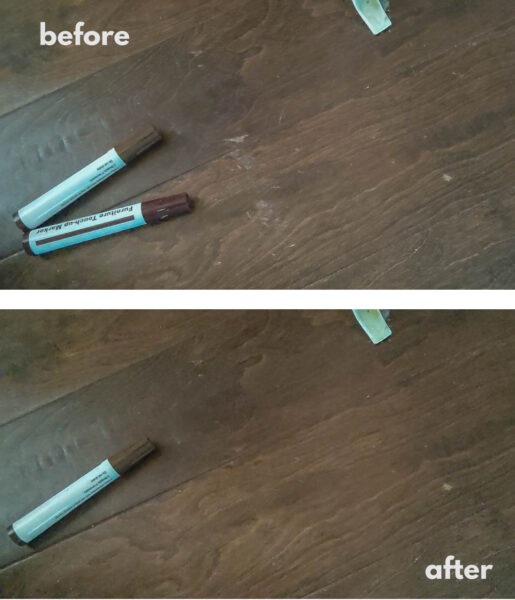
I also plant that these wood repair marker kits are pretty popular so I ordered ane of these to test as well. Luckily, I was much happier with the results.

The kit contains eight wax filler sticks that expect like crayons for filling in holes and scratches. It also contains eight markers for fixing the color of the wood scratches. And information technology came with a sharpener to use for getting a abrupt indicate on the crayons for filling smaller areas.
This kit is pretty simple to utilize, simply I did find there is a bit of a learning curve. At outset I had a really hard time figuring out how to make the scratches truly blend in seamlessly.
Simply I kept experimenting and I figured out a few simple tricks that really help make information technology like shooting fish in a barrel to get amazing results.
Materials
- Forest Repair Marker Kit – at that place are several different versions available that all look somewhat similar. This is the kit I used and I was super happy with information technology.
- hairdryer – for warming the wax crayons
- pocket-sized plastic putty knife or old credit carte du jour – for smoothing the wood filler
- clean cloth or paper towel – for wiping off excess production
How to Fix Scratched Wood Floors
Clean your floors
The showtime step is to clean your floors thoroughly. It'southward fine to utilize any method you ordinarily utilise to clean your floors; you just want them clean and gratis of debris that could continue the filler/color from adhering well.
Fill deep scratches and holes with the filler
For deeper scratches and holes, you lot'll offset with 1 of the wax crayons in the kit.
There will exist several different colors of wax sticks in your kit. The color of the wood filler doesn't have to exactly match your floors because you will ready any colour variations in the side by side step. But choosing a colour that is a pretty shut friction match will brand the whole process easier.
Y'all would think you lot should choose the one that looks the most similar to your floors, only actually it is all-time to outset with one a couple of shades lighter than your floor.
The color oft ends up looking much darker than you expected once it'south applied. If you apply a color that is also nighttime, it can be hard or impossible to lighten it with the wood repair markers; merely it is very easy to darken a color that is too light.
Once you've chosen a crayon, you demand to warm it to soften the wax. Initially, I but tried warming the crayon by property it in my fist to warm it with body heat, just that actually didn't work very well.
After a bit of experimenting, I realized a hair dryer was the perfect solution. If you warm the tip of the crayon with a hair dryer for five to ten seconds, the wax will soften the perfect corporeality for it to melt right into the scratches and fill up them smoothly.
Once you've practical the filler, y'all tin use a plastic putty knife or an former credit card to scrape off any excess filler for a super smooth finish.
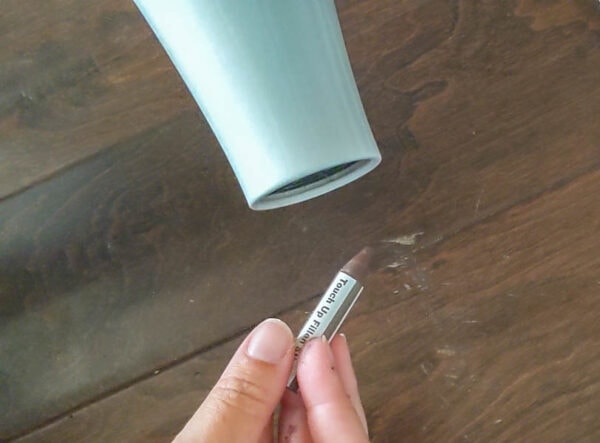
Comprehend scratches and scuffs with the markers
Once everything is nice and smooth, information technology's fourth dimension to pull out the markers. I hope this goes without proverb, only these are not the same every bit the Crayola markers that kids use. These are markers specially formulated for fixing scratches in wood.
These markers are perfect for using on their own to ready scuff marks and superficial scratches equally well as using in combination with the filler to fix larger divots and scratches. They volition not fill in deep holes and scratches though; that is what the filler sticks are for. The markers merely correct the color.
Because this step is all virtually fixing the color, choosing the right colour is peculiarly important.
Exist certain to offset with a color that is a couple of shades lighter than your floors. If the color ends upward being too light, you can always add together a 2d coat to darken it or even add a coat of a darker color.
Using a marker that is too light is easy to set while using a mark that is too dark is nearly impossible to fix.
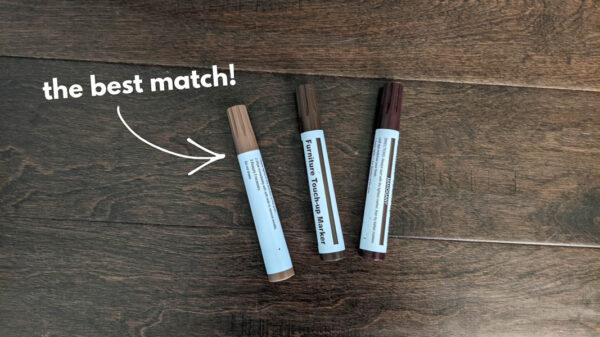
Originally I chose two colors that looked closest to my floors and tested them in an inconspicuous area. Fifty-fifty though they looked like they should match, they were actually manner also dark! The marker that actually ended upwards matching well looks much lighter than my actual floors.
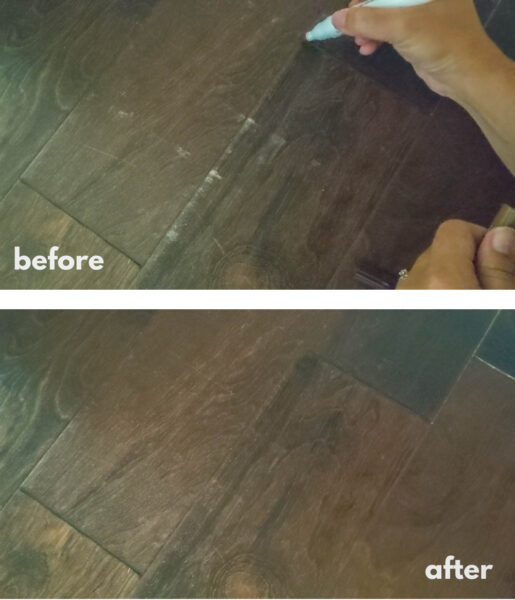
Once yous've figured out which marking looks the all-time, using them is incredibly like shooting fish in a barrel.
Lightly color over the scratched area with the marker and then wipe it with a make clean fabric to remove the excess. The marker will attach to the raw, exposed wood of the scratches but hands wipes off the rest of the floor that is still sealed.
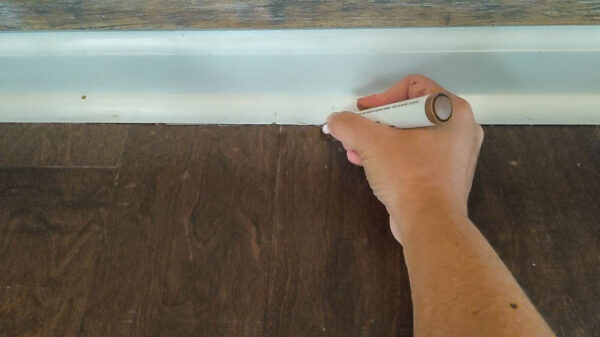
Just exist certain to work in pocket-size sections and work chop-chop because the markers do dry fast. If the marker dries completely without being wiped, it will non blend in well with the rest of your flooring.
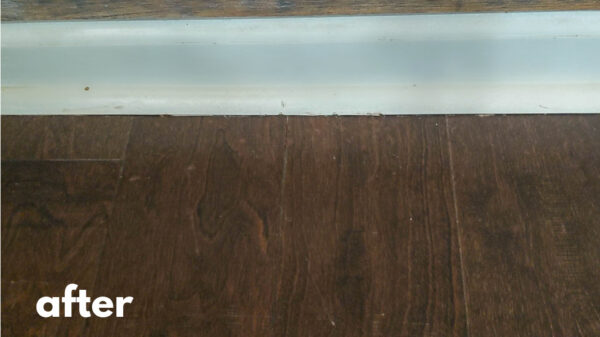
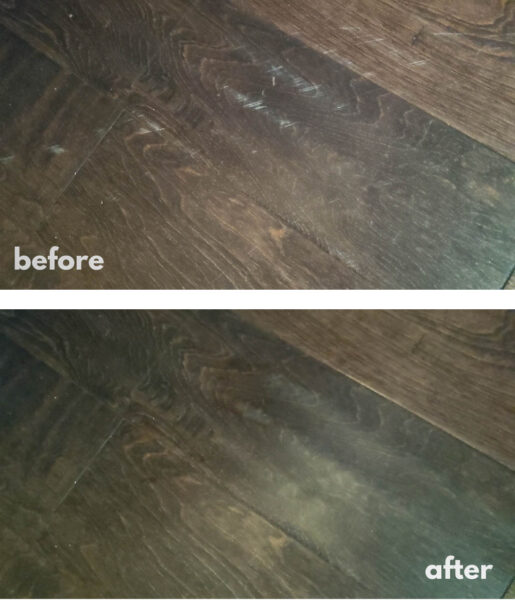
And that's it. It really is crazy like shooting fish in a barrel and I accept been thrilled with the results.
Here are a few more before and afters from other areas around the house.
And now I'grand excited to endeavour using these markers to fix upward a few scratches on some wood furniture I take. Somehow it seems similar there is always something scratched or broken or in need of repairs effectually here!
Video Tutorial
I also put together a quick video tutorial showing the whole process that you can watch beneath.
I'd dear for you tosubscribe to my Youtube channel!
Other simple fixes I retrieve you'll love:
- How to Keep Your Shower Curtain from Falling Downward
- Salvage your Couch: How to Clean a Microfiber Burrow
- How to Refinish a Worn Out Dining Tabular array
I'd love for you to pin this post on Pinterest!


Materials
- Wood Repair Markers
- Paper Towels
Tools
- Hairdryer
- Modest Plastic Putty Pocketknife
Instructions
- Clean your floors thoroughly.
- Fill deep scratches and holes using one of the wax crayons in the wood repair kit. Warm the wax crayons first to soften the wax with a hair dryer and then fill in the scratches.
- Use a plastic putty pocketknife to scrape off any backlog filler.
- Use the included markers to set up scuff marks and superficial scratches. Exist sure to start with a marking that is a couple of shades lighter than your floor. You can always go over it with a darker marker if needed.
- Lightly color over the scratched area and immediately wipe it clean.
Source: https://www.lovelyetc.com/how-to-fix-scratches-on-wood-floors-the-quick-and-easy-way/
0 Response to "How To Repair Scratches On Hardwood Floor"
Post a Comment